How Tilda Works
Getting started with the interface: how to upload, edit, and publish websites on Tilda
Getting started with Tilda
1
Main Dashboard
With Tilda Business Plan, you can create up to 5 websites and assign a domain name to each of them. With Tilda Free Plan and Tilda Personal Plan, you can create one website.

2
Project Dashboard
A website may contain multiple pages (a portfolio website, magazine, or blog) as well as just one page (a landing page or longread). What makes it different is the settings: you can assign a specific style (fonts, colors, etc.) and a domain name to your website.
3
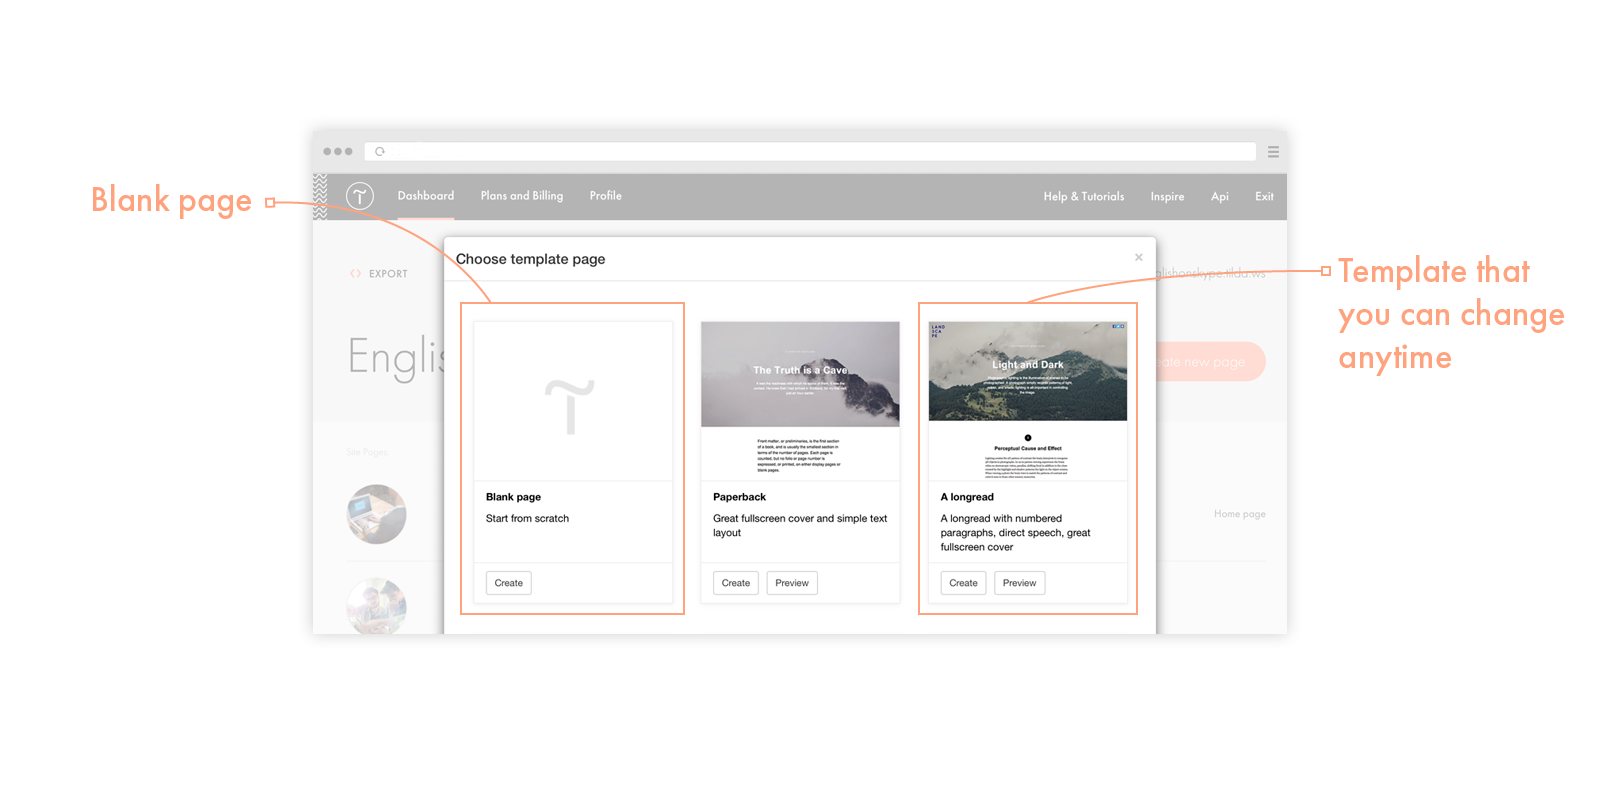
How to add a new page
4
How to edit a page

5
How to add a block
Blocks are Tilda’s basic elements. You can create a page by adding and arranging blocks. Our experts have designed more than 550 blocks that cover most of the required combinations. All blocks are tunable, so you won’t have to design one from scratch. All you need is good content and good taste.
6
Block content: Adding and editing
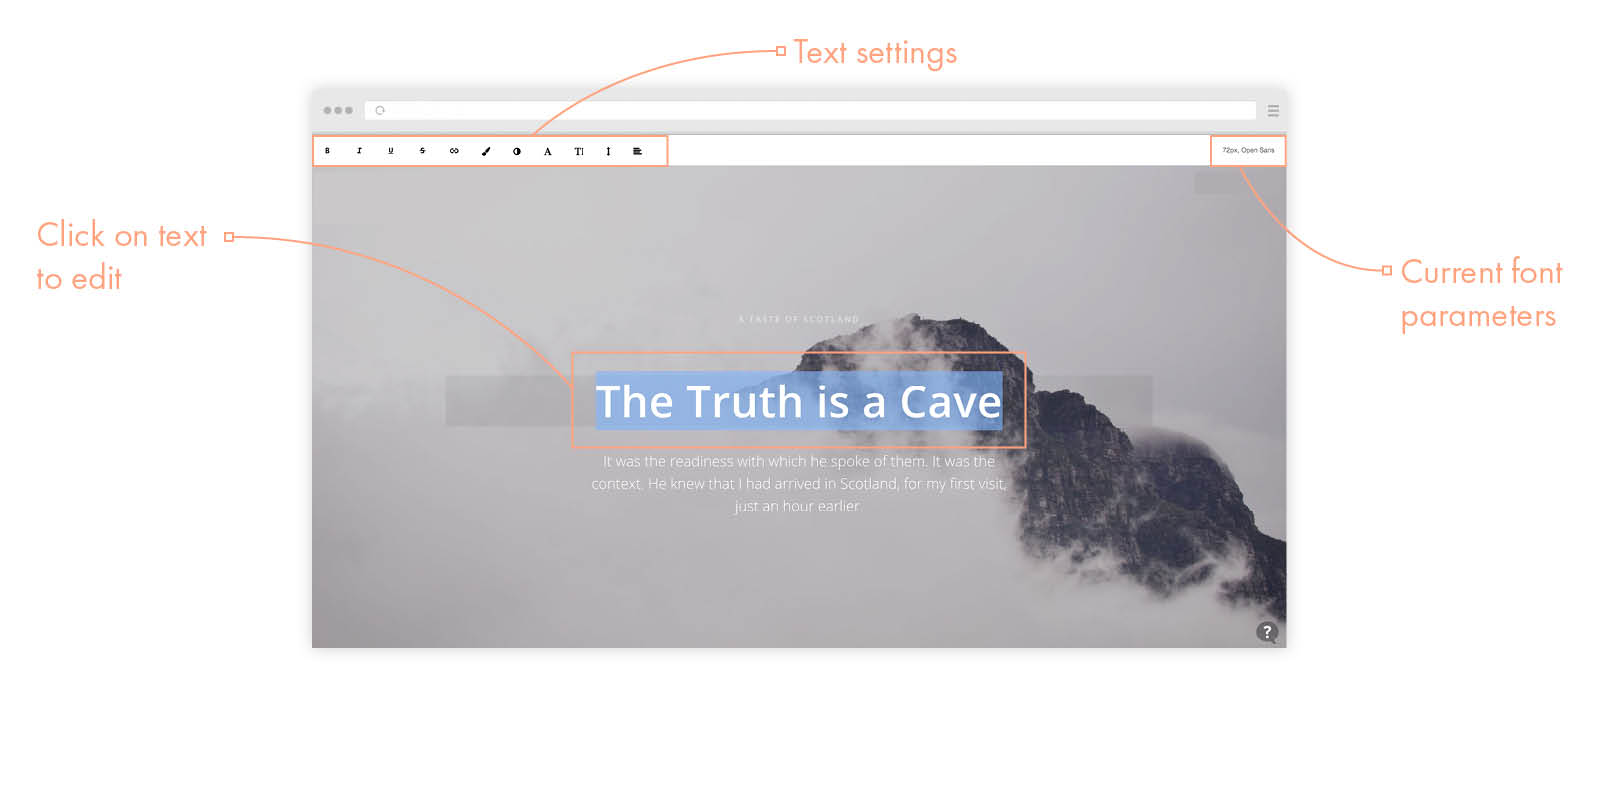
You can add and edit content right on the page—just click on the text to edit it or drag and drop images to add them. Open the Content panel of the block by clicking the orange button to access even more settings.
7
Block appearance
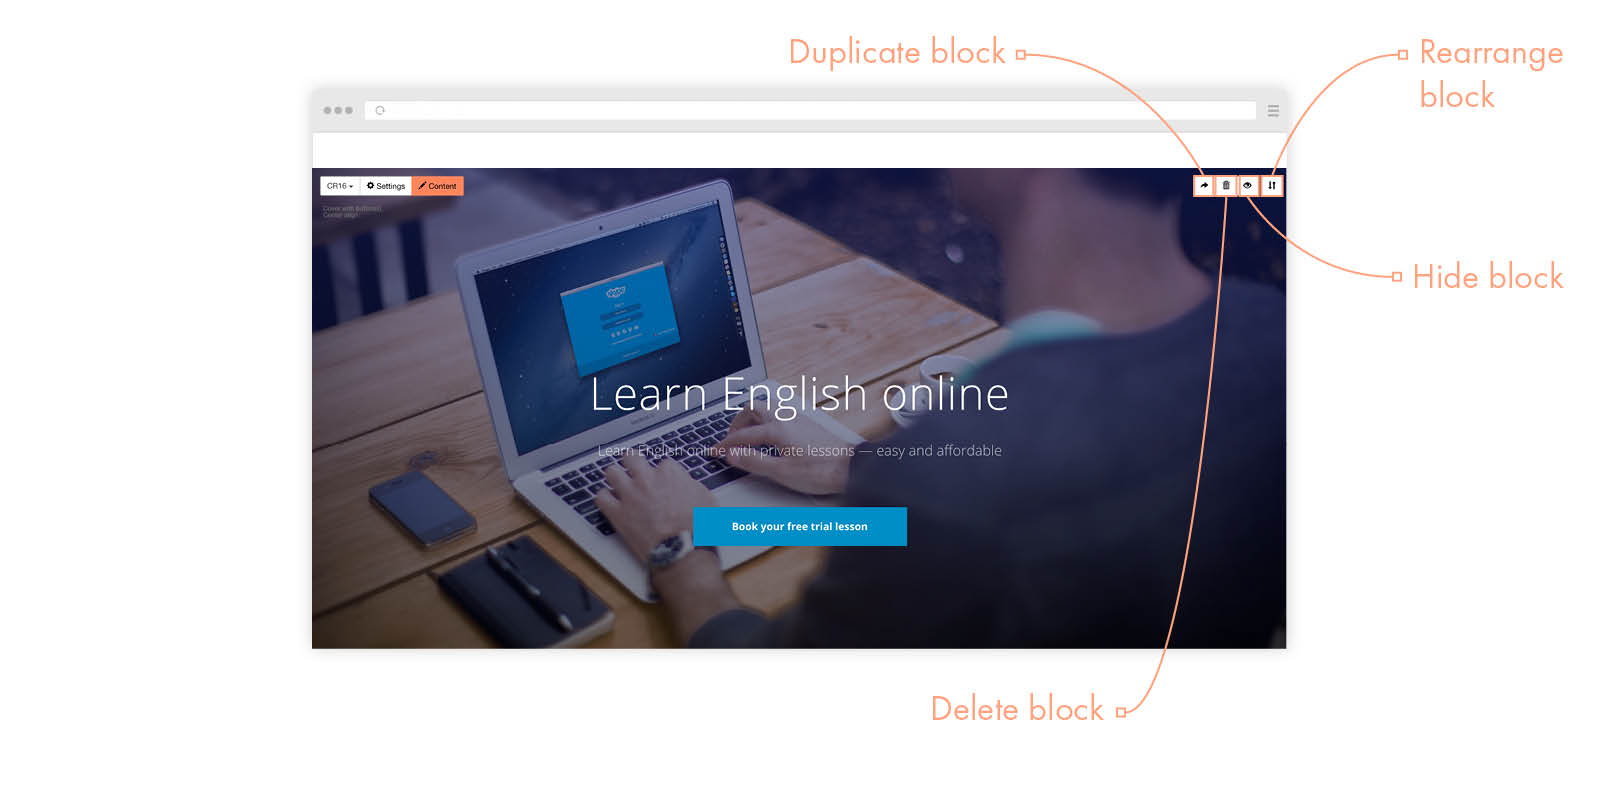
Each block has settings specific to its type (image, text, video, or button). Blocks can be duplicated, rearranged, cut, copied, and pasted anywhere on the current page, another page, or even another website within the same account.
8
How to preview and publish a page
While editing a website page, click on Preview to see what it will look like online. After publishing the page, you will get a link to it. Tilda saves the changes automatically.


