Official Plugin Topic & Documentation: https://meta.discourse.org/t/add-algolia-search-to-your-discourse/73517
Power the search on your Discourse with Algolia 🔎🎉
The discourse-algolia plugin indexes users, posts, topics and tags with Algolia and adds a search box built with autocomplete.js to the Discourse header. Try it live on Algolia's Community Forum!
The discourse-algolia plugin uses the Algolia API, which provides powerful indexing and search capabilities.
- Speed: Results update immediately with each keystroke
- Relevance: Metrics like views and likes are used to surface the best content first
- User experience: All indicies are searched simultaneously and presented in a unified view
- Analytics: See what users are searching for, see top queries that produce 0 results
You'll need an Algolia account if you don't have one already.
- Go here to sign up for a free account (10,000 records and 100,000 indexing operations monthly)
- If you're using Discourse for an open source project and need higher limits, fill out the form on the Algolia for Open Source page.
- If you need higher limits for your business, we're happy to help you find the right plan.
Please see this thread on meta.discourse.org for more information: Add Algolia search to your Discourse.
Add this repository's git clone url to your container's app.yml file, at the bottom of the cmd section:
hooks:
  after_code:
    - exec:
        cd: $home/plugins
        cmd:
          - mkdir -p plugins
          - git clone https://github.com/discourse/discourse-algolia.git
Rebuild your container:
cd /var/discourse
git pull
./launcher rebuild app
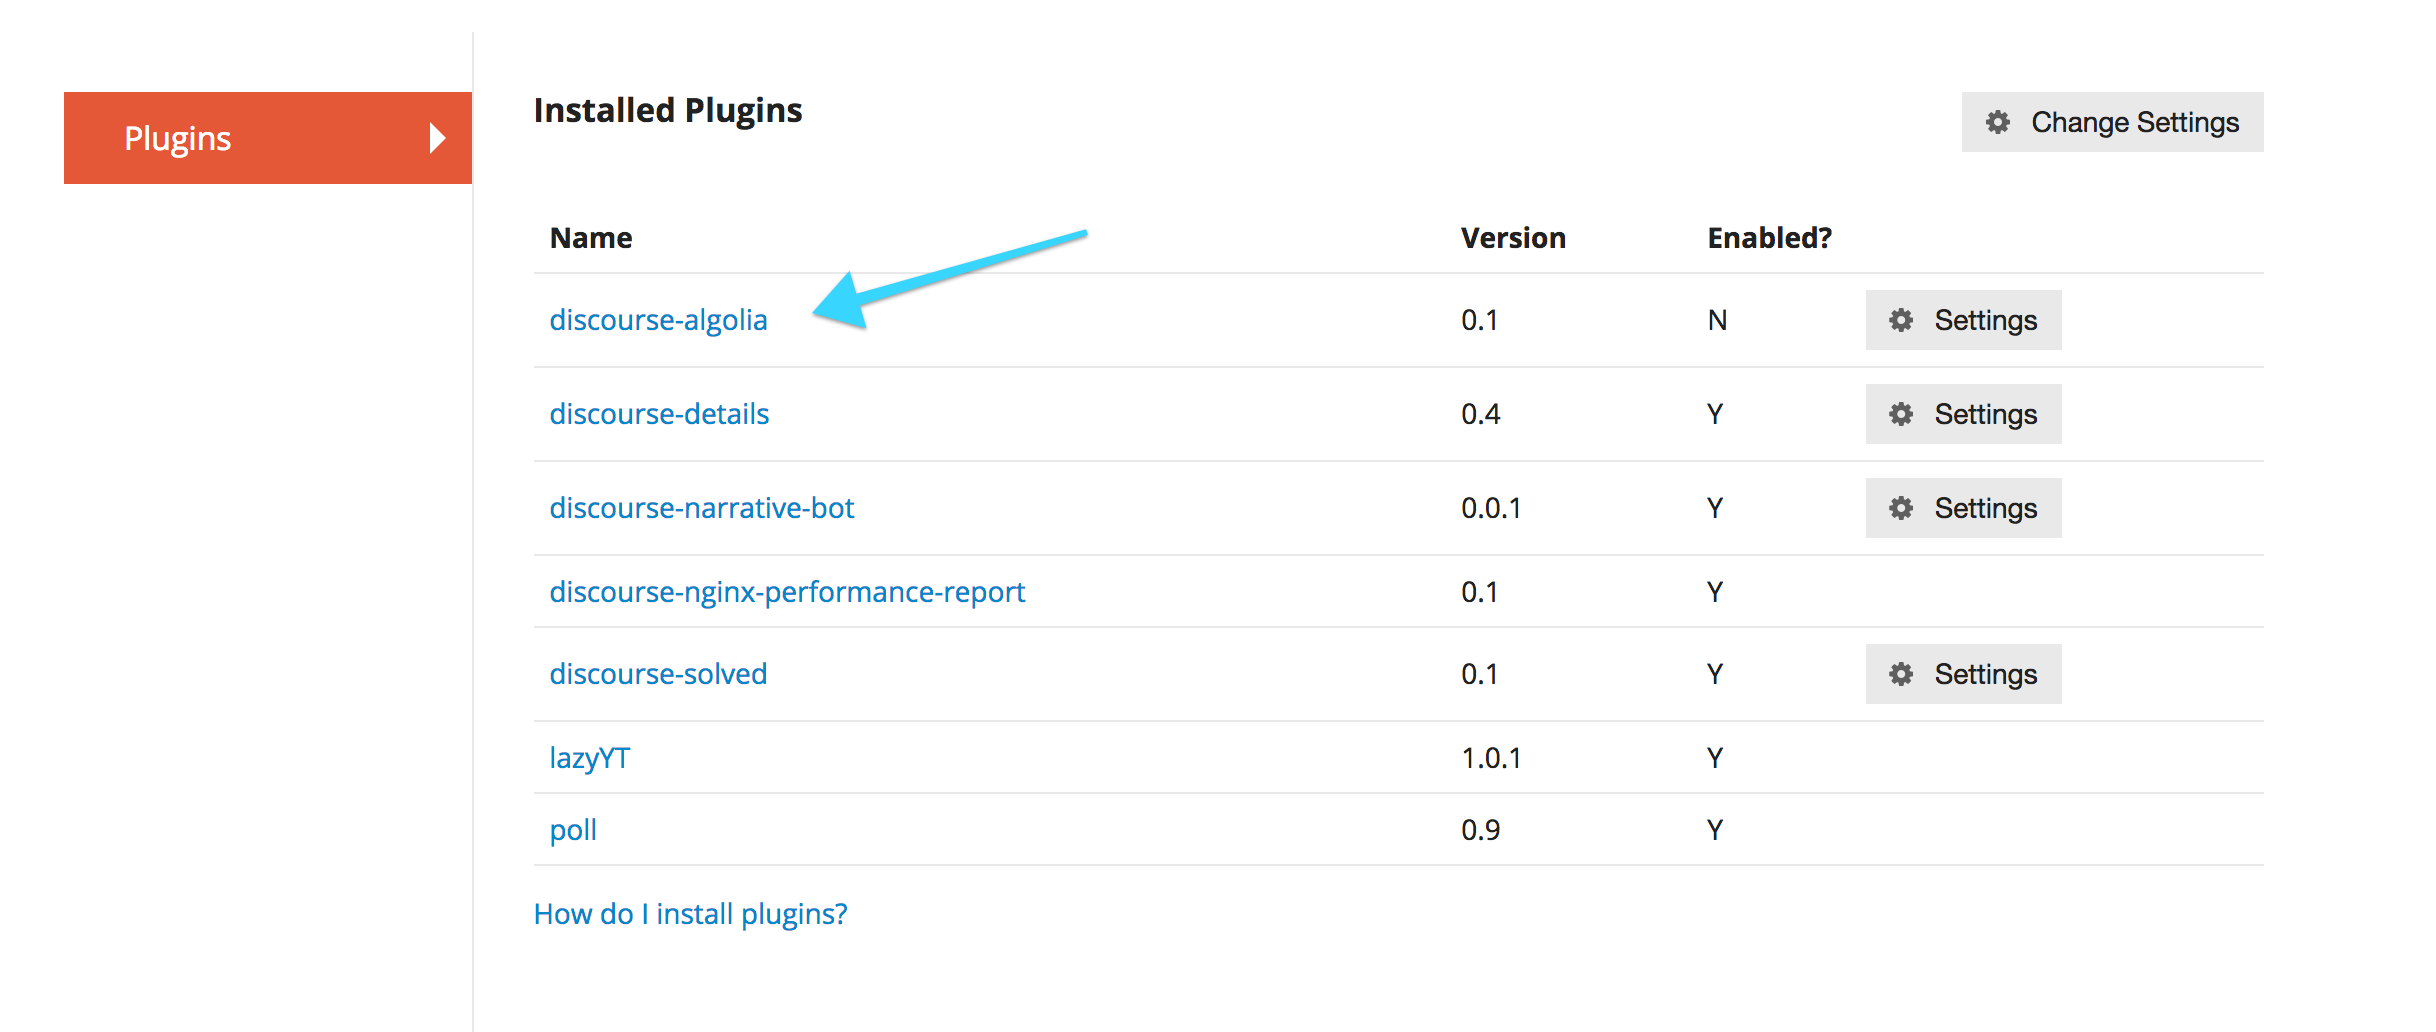
Once you've installed the plugin and restarted your Discourse, you will see a new plugin available in your admin configuration. Click the Settings button next to the discourse-algolia plugin.
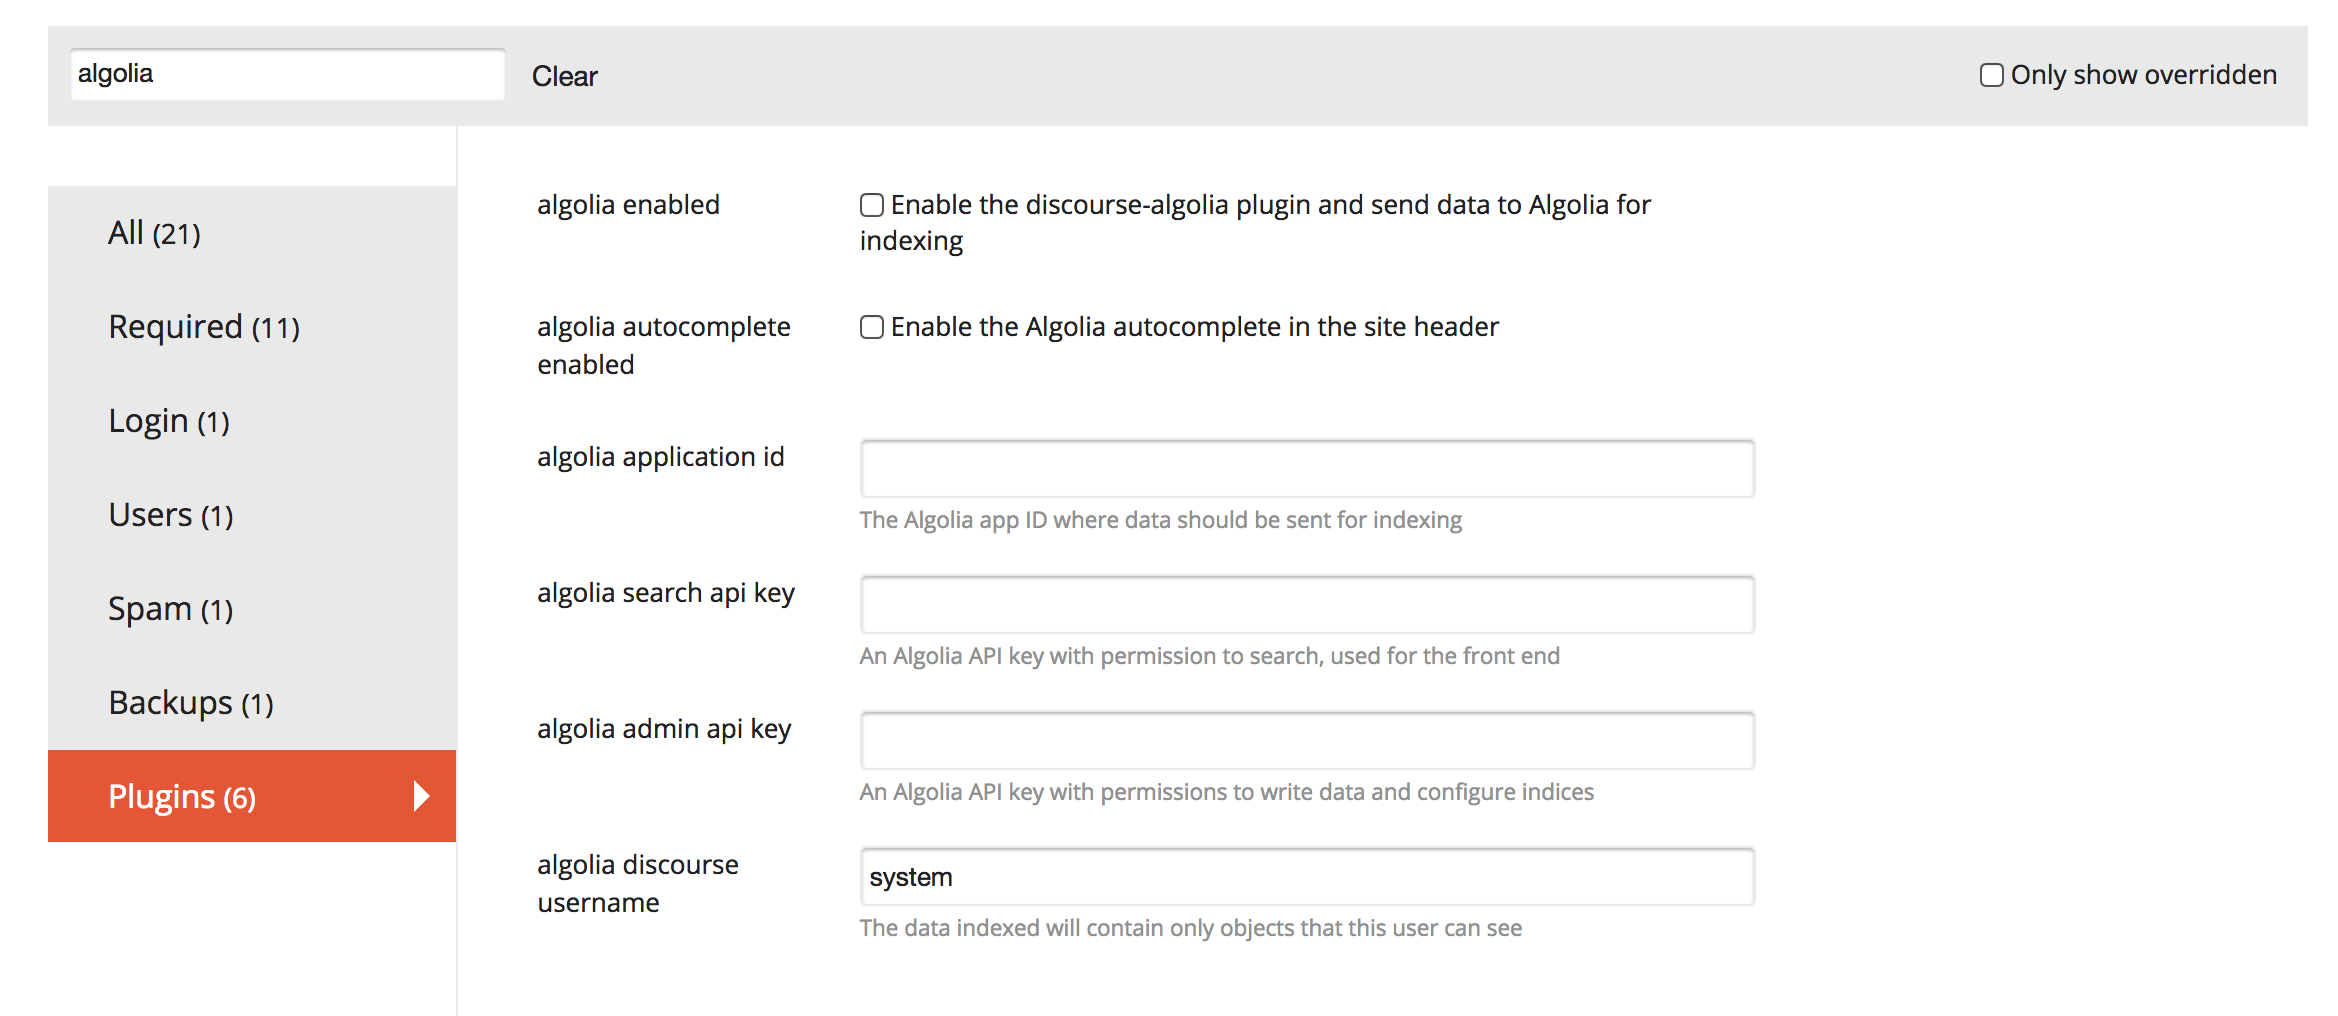
You will now see all of the plugin configuration options available.
Populate the settings as follows:
- algolia enabled: Check this box to enable indexing new content with Algolia.
- algolia autocomplete enabled: Check this box to replace the default Discourse autocomplete with the Algolia autocomplete. It is recommended to do this only once you have all content indexed (see below).
- algolia application id: The ID of an Algolia application you have created.
- algolia search api key: A search-only API key of the Algolia application. Do not use an admin API key, as this will be visible to the clients of your Discourse.
- algolia admin api key: The admin API key of your Discourse application, or any API key that can write and configure indices.
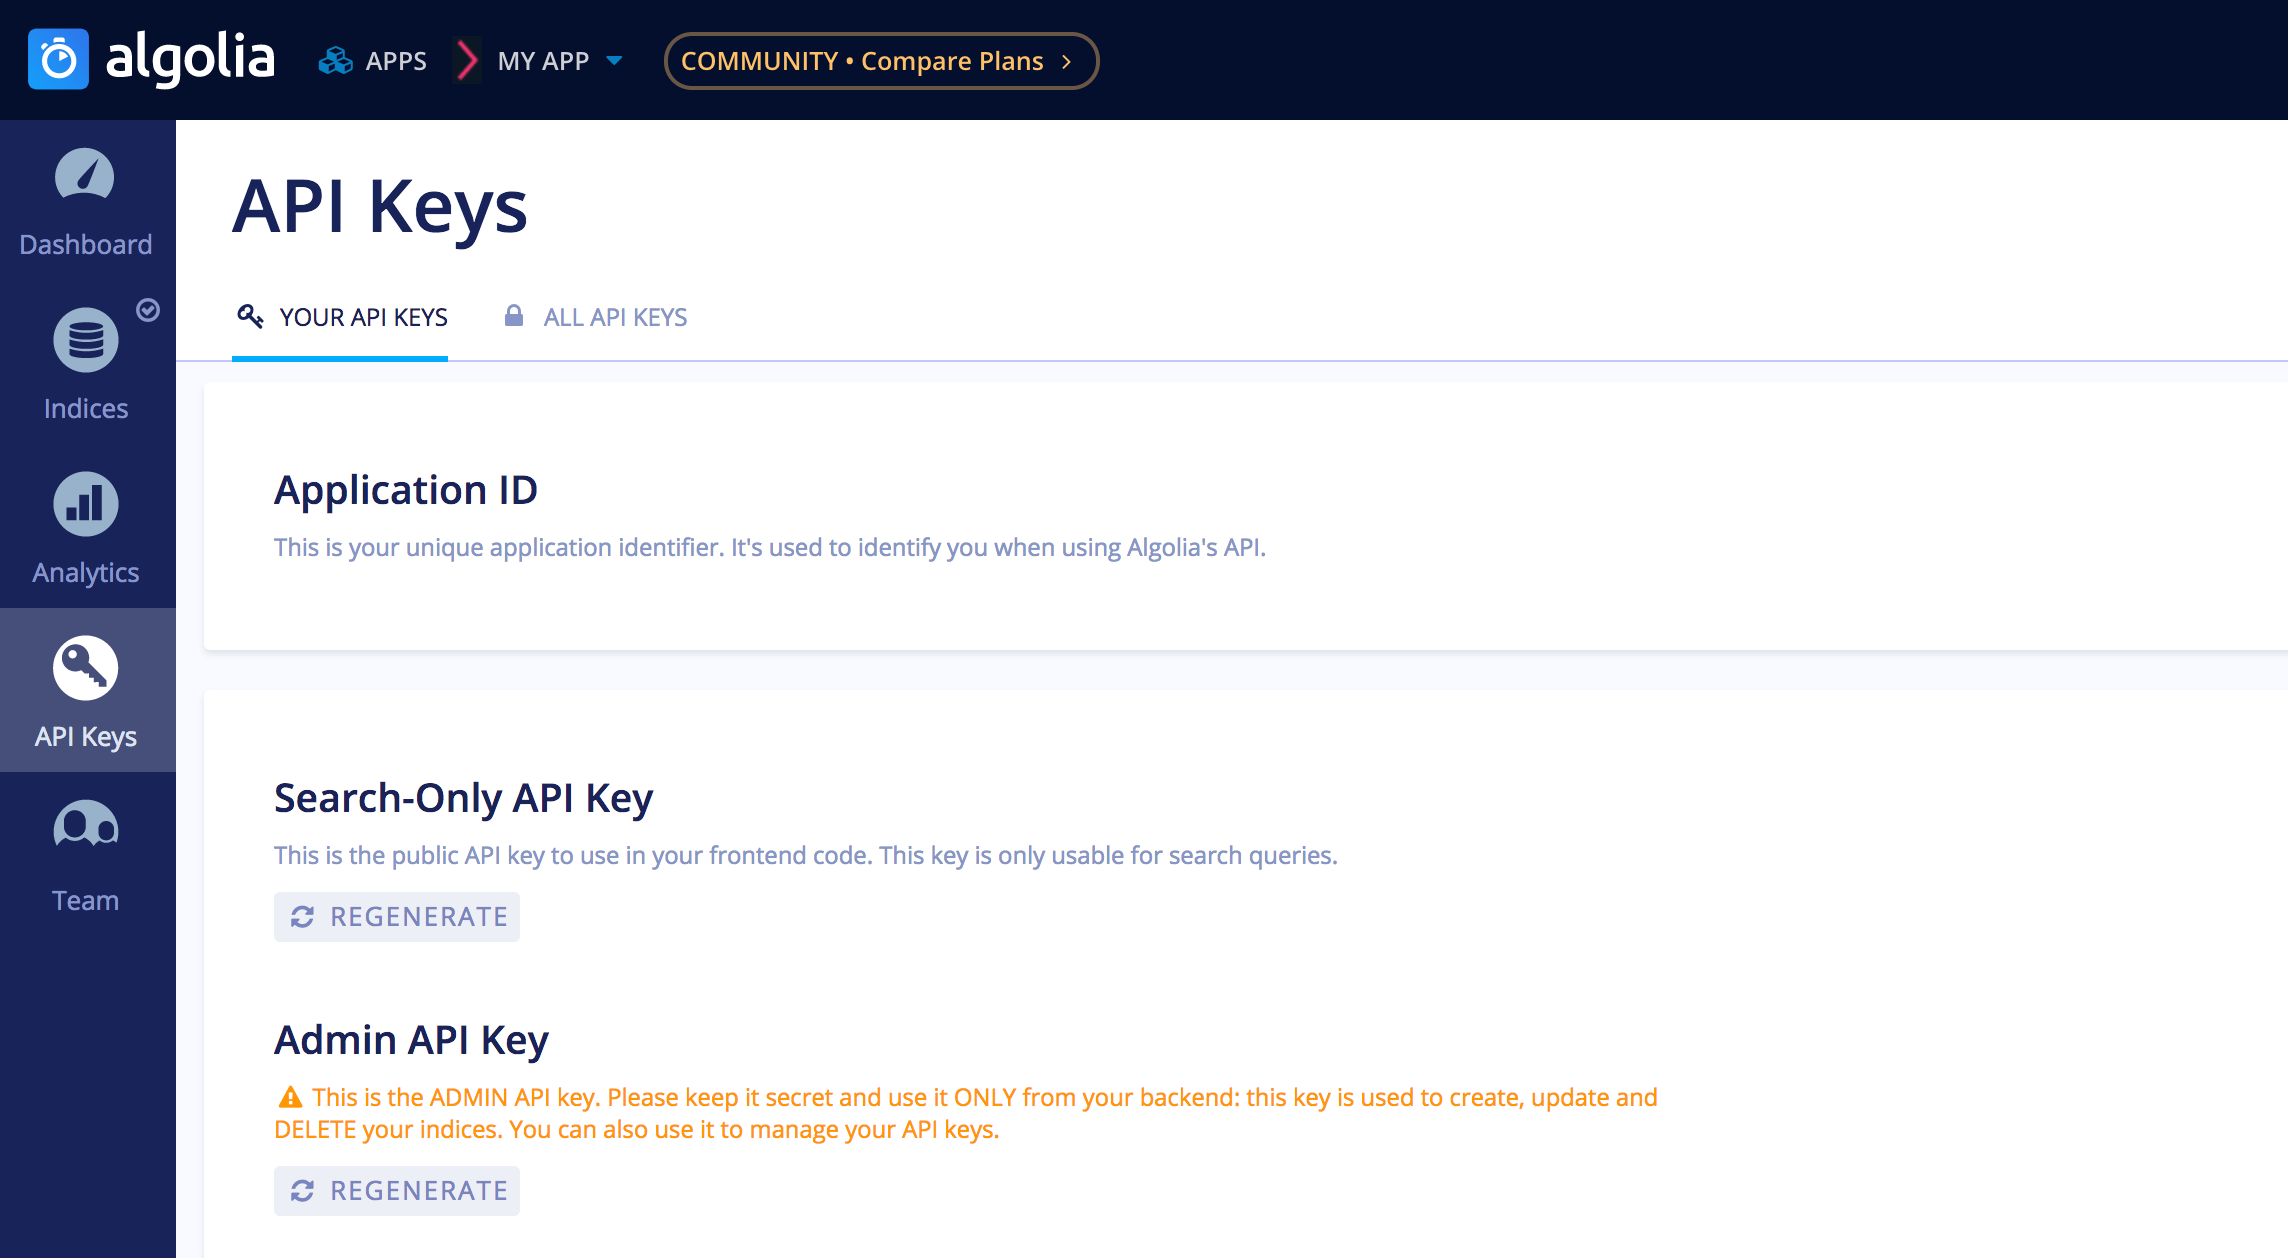
You can find the algolia application id, algolia search api key, and algolia admin api key in the API Keys page of your Algolia dashboard.
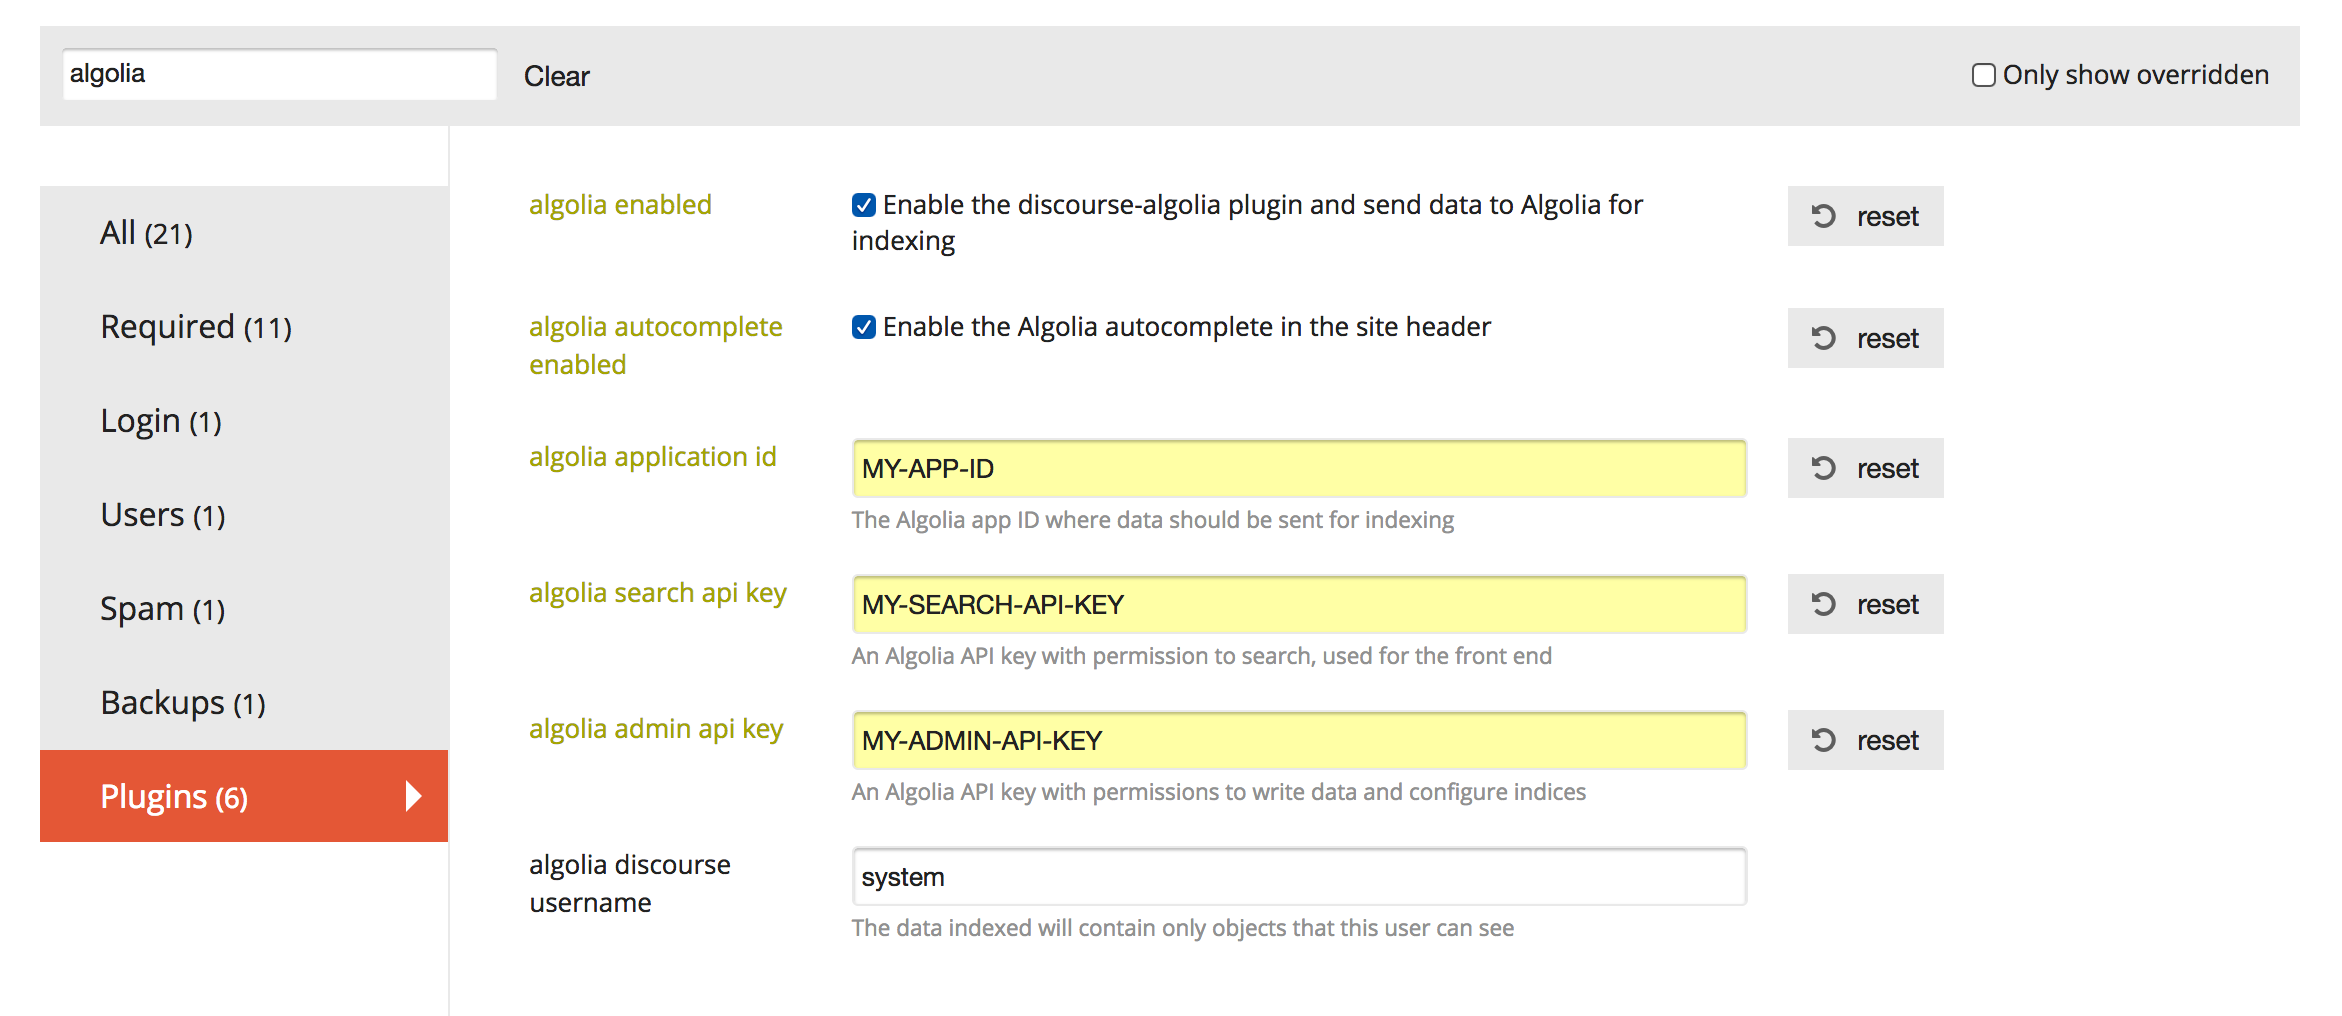
Once all of the settings are turned on and populated, the plugin configuration should look like this:
Once you have enabled the Algolia plugin and added an application ID and admin API key, you can now index all of your forum's content. Run the following rake task in your Discourse directory:
LOAD_PLUGINS=1 bundle exec rails algolia:reindexThis will create and configure three indices - discourse-users, discourse-posts, and discourse-tags - and then populate them by loading data from your database and sending it to Algolia. The data will be searchable as soon as the task is finished. You can now enable the algolia autocomplete enabled setting of the plugin, reload the page of your Discourse, and try the autocomplete search.
To run rake tasks, first cd into your Discourse directory. If you're using the Docker install, just run this command:
./launcher enter appAdditional rake tasks are provided for configuring indices and syncing data.
rake algolia:reindex                                                   # reindex everything to algolia
rake algolia:reindex_posts                                             # reindex posts in algolia
rake algolia:reindex_tags                                              # reindex tags in algolia
rake algolia:reindex_users                                             # reindex users in algolia
To see how you can change the look and feel of the autocomplete, see the CSS styles in the plugin's assets/stylesheets directory.
 .algolia-holder .aa-input {
    color: #919191;
    font-family: Open Sans, Arial, sans-serif;
    border: solid 1px rgba(137,149,199,0.2);
    border-radius: 6px;
    font-size: 13px;
    line-height: 13px;
    padding: 8px 10px 8px 35px;
    height: auto;
    width: 250px;
    outline: 0;
    background-image: url("data:image/svg+xml;utf8,<svg width='14' height='14' viewBox='0 0 14 14' xmlns='http://www.w3.org/2000/svg'><path d='M12.5 11h-.79l-.28-.27C12.41 9.59 13 8.11 13 6.5 13 2.91 10.09 0 6.5 0S0 2.91 0 6.5 2.91 13 6.5 13c1.61 0 3.09-.59 4.23-1.57l.27.28v.79l5 4.99L17.49 16l-4.99-5zm-6 0C4.01 11 2 8.99 2 6.5S4.01 2 6.5 2 11 4.01 11 6.5 8.99 11 6.5 11z' fill='%237C8A94' fill-rule='evenodd'/></svg>");
    background-size: 14px 14px;
    background-repeat: no-repeat;
    background-position: 10px center;
  }
You'll see style definitions like this, which you can override by creating a fork of the plugin or more easily by using the CSS/HTML customization that Discourse makes available in the Admin tool.
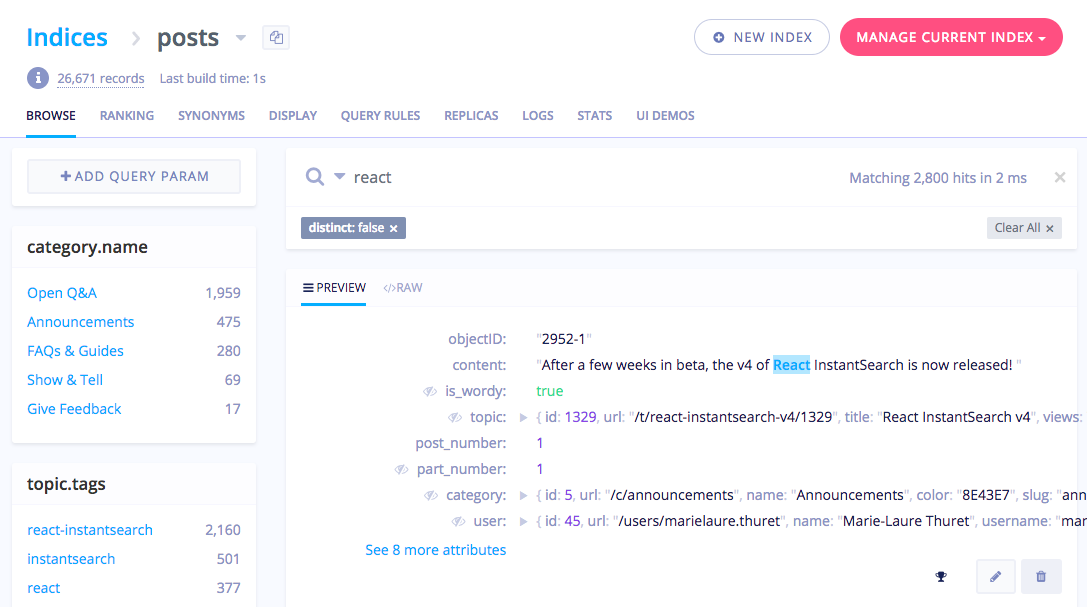
Once you've indexed your data with Algolia, you can see it and search it from the Algolia dashboard. That will give you an idea of what attributes the plugin indexes. You can also make changes to relevance and other index configuration settings. A full treatment of ranking, relevance and the Algolia dashboard is out of scope here, but we encourage you to head over to the Algolia documentation and start digging in.
