App fatigue is real. Yet, we cobble together solutions because finding the perfect app for our needs is nearly impossible. The alternatives aren't much better. It's expensive to hire developers to build and maintain internal tools. One-size-fits-all apps often lack a specific feature or cost too much for the few that you'll actually use.
Computers should do more work for us, instead of the other way around. That's why Zapier built a solution so you can create your own solution—regardless of your tools or technical know-how. Zapier Interfaces is a no-code app builder that lets you create interactive web apps with the tools you already use.
Zapier is the leader in workflow automation—integrating with 6,000+ apps from partners like Google, Salesforce, and Microsoft. Use interfaces, data tables, and logic to build secure, automated systems for your business-critical workflows across your organization's technology stack. Learn more.
What you'll find in this guide:
Are you ready to build a seamless lead management system using Zapier Tables, Interfaces, and Zaps. Start the Automate getting new leads into your pipeline course on Zapier Learn.
What is Zapier Interfaces?
Zapier Interfaces is a no-code, automation-powered app builder that lets you create your own personalized solution—from forms and landing pages to trackers and Kanban views—all in one spot.

You turn to Zapier to connect your favorite tools and automate work behind the scenes. Zapier Interfaces brings your work center stage by letting you create your own front-end web app—the thing you actually interact with—to go along with everything you're automating on the back end.
You don't have to ditch your existing apps, either. Interfaces is powered by our automated workflows called Zaps. That means you don't have to hop between various apps: You can connect your favorite tools and automatically update an interface with the latest info.
But how is Zapier Interfaces different from other no-code website and app builders?
Build and launch fast. You don't need to be a technical wizard or a design pro to create a custom app that looks good. Interfaces' no-code builder lets you easily create your own web app with navigation, multiple pages, and customizable interactive components.
Automate and streamline work with your existing tools. Interfaces has its own Zapier integration, so you can connect it to the thousands of apps Zapier already supports. You can also link Interfaces to Zapier Tables for further automation opportunities.
Create an interface for internal or external use. You can create customer-facing interfaces, password-protected client portals, or private custom apps for yourself or your team. Your Zaps have separate permissions from your interfaces, so you control who can access your automated workflows.
Your workflows are front-and-center—and you're in control. Since Interfaces is powered by Zaps, you can easily access your workflows from the Interfaces builder or your Zap dashboard. If something goes wrong, you'll know—and can fix it right away.
Personalized branding and permission controls are available on Interfaces Premium, available as a paid add-on to an existing Zapier account.
What can I create within Interfaces?
Zapier Interfaces comes with interactive and decorative components you can use to easily build web apps such as:
Quick landing pages to engage prospects or customers.
A basic form to capture leads or internal requests from teammates.
A client portal for customers to view completed work, submit requests, and access help documentation.
An internal onboarding hub for new employees.
A lightweight CRM (Customer Relationship Management) tool.

You can also personalize your custom app with your brand colors, use a custom domain, or even embed an interface on an existing website.
Explore our Interfaces template library for inspiration and start building right away.
When should I use Interfaces?
Zapier Interfaces is not meant to be the super-app that ends all apps. For example, we're not suggesting you replace your CRM (Customer Relationship Management) tool if it works well for you.
However, if you're already automating work with Zapier or need a simple custom tool to power certain processes, Interfaces might be for you.
Signs you should use Zapier Interfaces:
You're frustrated with current tools because they're too complex or not personalized enough. You've tried all the apps out there, but they either had too many features for what you actually need, or you want to have more control over certain functions. For example, you might use an HR tool internally with an employee directory, but you need to know what each team is responsible for. You could create a directory in Interfaces that automatically updates from your HR tool with an overview of individual teams and current members.
You need to launch something quickly. It can be time-intensive and costly to implement a centralized solution, which may not be worth the effort if it doesn't solve the problem. You can quickly build a solution with Interfaces, find out what works, and tweak what doesn't. Let's say you have a hunch that a centralized portal and help center would minimize confusion (and emails) with external clients. You can build and launch something with Interfaces quickly and see how your clients respond.
You want to connect your existing tools to a single, user-facing app to interact with. Jumping from app to app for a single process can be a disorienting experience for users. For example, if your team mainly tracks work in a database but your project documentation lives elsewhere. You can unify those experiences within Interfaces—without ditching your original tools.
Elements of an interface
The idea of creating your own web app can be exciting but can get overwhelming quickly. So here are a few key terms to know before you get started:
Interface: Each web app you create with Interfaces is considered an interface. On the home page, you can see all the pages in your interface, the connected Zaps, and any connected Tables.

Page: Each interface consists of one or multiple pages. You can control access on a page or interface level and decide which pages to include in your interface's navigation menu.
Component: A component is an interactive or decorative block within a page. You can combine multiple components on a single page for your visitors to interact with, such as a form or Zapier Table. You can also mix up your page design with decorative components like media, text blocks, and dividers.
Components offer different kinds of functionality, such as:
Link cards: Create a front-page navigation menu for your interface or add links to outside sources to create a centralized knowledge hub.
Forms: Create simple forms using an existing table for your form questions. You can also create a form from scratch or draft your own questions. Then, you can use Zaps to send those answers elsewhere, such as your CRM or email marketing platform.
Tables: You can use Zapier Tables to track sales, store event recordings, and more. Embed a table on a page and control whether users can add, edit, or delete records. You can also use the Tables integration to create new records, update existing ones, or start workflows from specific changes, so you can keep information accurate without the extra effort.
Kanban: If a table isn't your preferred way to visualize records, the Kanban component uses your table data to visualize and manage tasks, track leads, and more.

Check out our help doc for all the components available in Zapier Interfaces.
Triggers and actions for Interfaces
The hidden power of Zapier Interfaces is its automation capabilities. The Interfaces integration lets you create automated workflows to power your custom apps. For example, you might create a team resource hub that automatically updates with Zaps, sending new meeting recordings and documentation to a table.
Triggers for Zapier Interfaces
Interfaces has seven triggers—events that start a Zap. Some triggers are component-specific, while others are more general. Here's what's available:
Block Created: You can trigger workflows when a component is added to a specific interface or page or start Zaps when specific component types are added. For example, you may want to automatically notify a client whenever you've added a progress tracker to their portal.
Page Created: You can also start Zaps when creating a new page for a specific interface. For example, you could create a checklist of onboarding tasks for a new colleague.
Interface Created: You can start automated workflows when creating a new interface. You could automatically log new interfaces in your team's documentation hub so your team has the latest info.
User Created: If you prefer to restrict access to your web app to certain users, you can trigger Zaps whenever you add a new managed user to your interface. For example, you could use the User Created trigger as part of an onboarding workflow for new customers or employees.
Form Submission Created: If you've connected form apps to Zapier before, you know how powerful (and time-saving) these workflows can be. The Form Submission Created trigger brings the power of form automation to Interfaces. You can save responses to Zapier Tables or another database, trigger notifications and confirmation emails, and more.
Actions for Zapier Interfaces
Interfaces also has three actions—events a Zap performs once triggered. These actions help you manage users on restricted Interfaces.
Create User: You can use the Create User action in a client onboarding workflow, for example, to grant access to their own personal portal.
Find or Create User: This search action will look for existing managed users in your interface. If one doesn't exist, Zapier will automatically create one. This is great for incorporating into your sales and onboarding workflows.
Remove User: You can also remove users when they no longer need access to your web app. For example, if you sell a subscription product, you can automatically remove users with new subscription cancellations.
How to set up an Interface
Now that you understand what Zapier Interfaces can do and how you might use it, we'll walk through how to create your own web app.
To get the most out of Zapier Interfaces:
When you connect Zapier Interfaces to your critical Zaps, you'll uncover ways to streamline processes with your custom solution.
You'll need a Zapier account to use Zapier Interfaces. If you don't have an account yet, it's free to get started.
How to create an interface
Once logged into your Zapier account, you can access Zapier Interfaces from the left-hand menu or visit interfaces.zapier.com.
On the top-right corner of the dashboard, click + Create.

There are multiple ways to create your first interface:
For this guide, we'll focus on creating our interface from scratch. However, the same steps generally apply no matter which method you use.
Create an interface from a template
You'll see various templates to choose from. Once you click on a template, you can start with the pre-built pages and components.

Depending on what you want to build, you'll see multiple templates to choose from:

We also have a few tutorials to go along with these templates:
Create an interface from existing data in Zapier Tables
If you're already using Zapier Tables to automate data, you can get a head start by creating a new interface from an existing table.
Click on Start from scratch.

Next, choose either the Form, Kanban, or Table component. You'll be presented with an option to select a data source (an existing table) from a list of your tables. Otherwise, you can create a table from scratch.

Once your interface is generated, the dashboard will display the following:
Pages: Interfaces will automatically create pages with components that work with Zapier Tables.
Tables: This is a list of existing Tables connected to your interface.
Zaps: Any existing Zaps connected to your table.

You can click on an existing page to edit, or click + Create page to add more.
Create an Interface from scratch
Here's how to create your own web app with Zapier Interfaces:
Click + Create from the Interfaces dashboard.
Click Start from scratch.
Select a component to add a page to your interface.
Customize and add more components to your page.
Configure page settings.
Adjust interface settings.
Add a page to your interface
From the Interfaces dashboard, click + Create, and then Create from scratch. Interfaces will ask you to select a component to build your first page.
In this example, I'll start with a simple Text component, but you can click Add next to whichever component you want to start with.

You'll see the selected component on a page within the Interfaces builder. Click on the component to edit it in the right-hand pane.

Components will have various settings you can adjust, such as appearance and behavior. The Text component I'm using is pretty simple. I can use Markdown to format text, adjust the component width, and change text alignment on the page.
Interactive components give you more customization options, which will vary depending on the type you use. Generally, you can change the following:
Content: Depending on the component type, you can add or remove fields and text, determine the desired component width, and change the alignment.
Data: Table, Kanban, and Form components will let you filter and display certain records and fields. With the AI Chatbot component, you can upload a static text file to teach your bot how to answer questions.
Actions: Certain components will let you display a message for certain behavior, such as a confirmation message after a form is submitted. You can also create Zaps to automate workflows based on specific component behavior.

Add more components
Once you've created your first component, you'll see a plus-button to add more. Hover your cursor over the plus-button and click Add component.

You can select additional components to add to your page from the left-hand pane.

I've added a Media component and uploaded an image in the example below.

Your page will begin to take shape as you add more components, and you can click and drag to rearrange the order. I created a simple bio page:

And here's a landing page I created for a new product:

How to configure page options
Once you've built your page, click on the gear icon on the left-hand side of the Interfaces builder to open Page options.
The Page name, Meta title, and Page URL fields will be pre-filled with a generic "Page" title. Change these fields to something more unique, and click Save changes.

Adjust interface settings
There are also interface-level settings you can change to further personalize your new app. Within the Interfaces builder or your dashboard, click on Settings located in the top-right menu.

In the General tab, you can name your interface and pick a new subdomain. By default, your URL will be https://your-subdomain.zapier.app, but you can point it to your own domain with Interfaces Advanced.

Click on the Home page dropdown and select the page visitors will see first when visiting your app, then click Save changes.

Next, click on the Navigation tab. You can display your app's navigation and brand logo at the top of every page.

When you turn on Display navigation on pages, you can select the pages you want to include. This is useful if you want to hide certain pages under construction.
Click + Add link, then click on the empty field to add a new page to your nav.

Change your theme
With paid Interfaces plans, you can customize your web app to match the look and feel of your brand. We'll briefly cover the fun part: making your app pretty.
In your interface settings, click on the Theme tab. Here's what you'll see:
AI theme generator: If you don't have standard brand colors, you can describe your brand or desired theme direction and AI will generate a few theme options for you. If you're unhappy with your options, you can adjust your prompt and keep generating until you see something you like.
My theme colors: If you have preset brand colors (or you just enjoy choosing colors yourself), you can change almost everything—from your page background to even the shades of gray you prefer.
Preview: As you change your theme, you can see how it looks in the Preview pane.

Since I don't have preset brand colors, I went the AI route. If you do the same, select the custom theme you'd like to use, then click Apply theme.

Create and connect Zaps to your interface
If you've created an automated workflow with Zapier before, creating a Zap with Interfaces will be the same. You can create a Zap from scratch with our point-and-click editor or create a Zap from within an interface.
To create a Zap from an interface, hover over a page component and click Edit.

If available, click on your component's Actions tab, then click Add action.

Note: The Actions tab is not available for Table components. Instead, you can create and manage Zaps for Table components from the Zap editor, the Interfaces home page dashboard, and within Zapier Tables. Learn how to create connected Zaps in Tables.
Click Create Zap.

You'll be directed to the Zap editor with the trigger pre-selected. Depending on the component type, your trigger app may be Interfaces or Zapier Tables because certain components use table data.
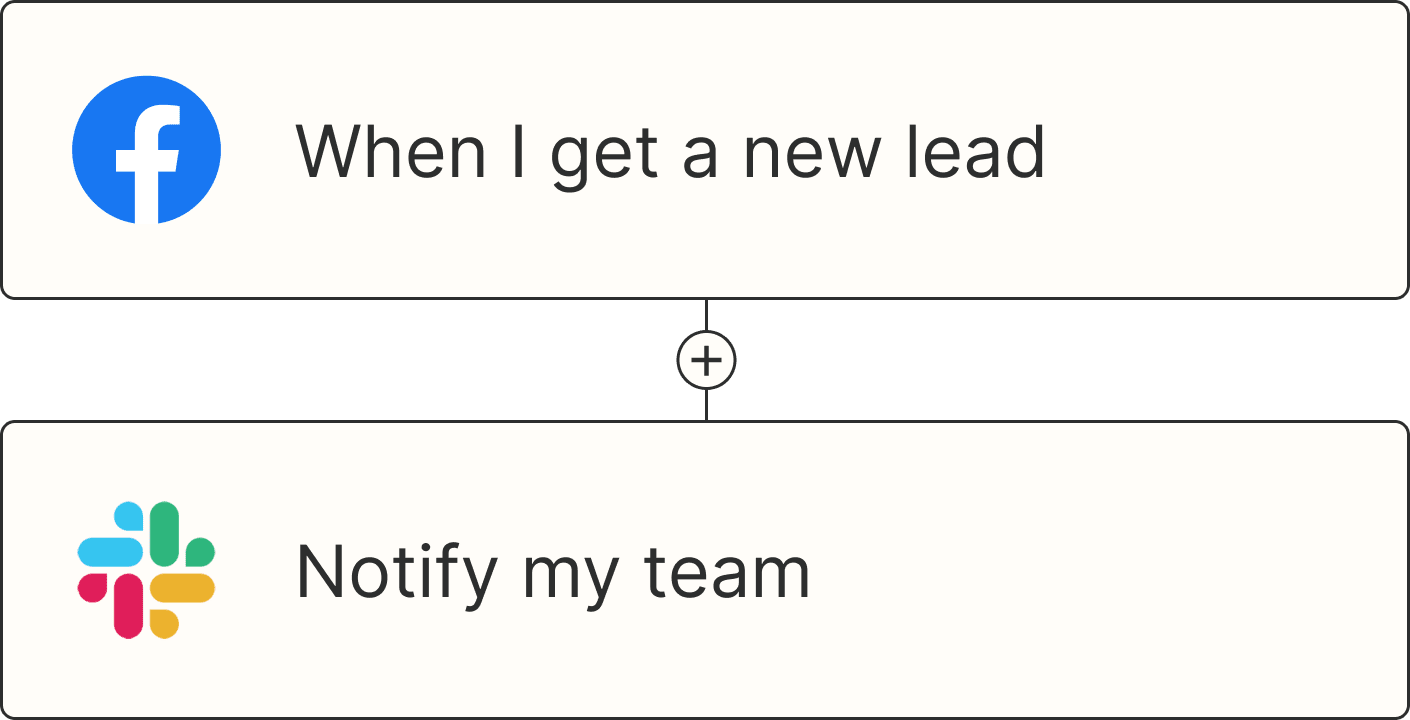
I'm building an interface that tracks lead and sales activity. In the example below, I'm creating a Zap that automatically notifies my team when a lead moves to the specific pipeline stage. Since I use Zapier Tables to track sales and I'm using a Kanban component in my interface, my Zap will trigger from an updated record in Tables.

Create your Zap as you normally would, test it, and make sure it's ready to use!
How to find connected Zaps in an interface
Zapier Interfaces lets you easily view, edit, and troubleshoot connected Zaps within an interface, page, or component—so you and your team can manage the front- and back-ends of your web app.
Here's how:
Find and edit connected Zaps within an interface
From your dashboard, you can see all Zaps connected to your interface and whether they're active or inactive. If your interface uses a Zapier Tables component, you'll see any Zaps connected to that table. You can edit any Zap by clicking on it, automatically directing you to the editor.

Find connected Zaps on a page
If you're editing a page in an interface, you can also click on the Connections icon from the left-hand sidebar to view and edit any Zaps connected to the current page.

Find connected Zaps in a component
You'll also find connected Zaps whenever you create or edit a specific component. Hover your cursor over a component, click Edit, then click the Actions tab. You'll see all connected Zaps and their current status.

Click on any Zap to edit it in the Zap editor.

Note: You can find connected Zaps for table components within Zapier Tables. You can access your table under the component's Data tab, then click View Table.

How permissions work in Zapier Interfaces
Interfaces lets you customize permission levels to control how you want to collaborate with your team—and how your end-user can access your web app.
First, your end-user doesn't need a Zapier account to interact with your app. A Zapier account is only required for building Zaps, interfaces, or collaborating on an interface.
Zap permissions are separate from Interfaces, so you don't have to grant teammates access to both if you don't want to. For example, you can tap one colleague to help you build an interface, but limit editing access to the connected Zaps to another trusted coworker. And of course, your end-user can't access any connected Zaps unless you give explicit permission.
Zap collaboration is available on paid Team and Company-level Zapier plans.
Collaborator permissions
To collaborate with your team on an interface, you only need to share the direct link to your interface—not the public-friendly URL. Any collaborators you invite will need a Zapier account to access your interface.
Access permissions
By default, anyone with a public URL can access your interface. You can restrict user access and prevent your teammates from accidentally sharing links that bypass permissions.
Let's say you're building a project portal for individual clients. If you restrict access to specific users, anyone who tries to access the public URL will be prompted to log in first.

Permission controls are available on paid Interfaces plans.
How to set access permissions and share an interface
Click on Settings from your interface's dashboard or page, then click the Access & Users tab.

You have different access options available:
Anyone with the link: This is the default setting for any interface you create in Interfaces. When you share the public URL, you also have the option to embed the interface on another site.
Anyone with the password: You set the password for users to access your web app.
Managed users only: You can limit access to certain email addresses. Whenever a user visits a page, they'll be prompted to submit their email address to receive a login code.

Once you've made your selection, click Save changes.
Once you're ready to share the public URL, click Share located at the top-right within the Interfaces builder or your interface's dashboard. Then, copy the URL from the dialog window.

You can also embed an interface on your website if you've set access to Anyone with the link. Learn more about embedding an interface.
Zapier Interfaces: Your automation-powered app builder
Your business is unique, so you should have more control over the tools that help you move your work forward. Zapier Interfaces is the no-code, automation-powered app builder that lets you create your own custom solution—regardless of your tools or technical skills. Now you can focus on your most important work and spend less time fighting your apps.
New to Zapier? It's workflow automation software that lets you focus on what matters. Combine user interfaces, data tables, and logic with 6,000+ apps to build and automate anything you can imagine. Sign up for free.
Related reading:
This guide was originally published in September 2023. It was most recently updated in January 2024.