
Create a custom walk or hike in Maps on Mac
You can customise a walking path to plan a hike, an exercise route or a city tour. You can also save the routes — along with any notes you add.
Note: Availability may vary by country or region.
Go to the Maps app
on your Mac.Click
 below Library in the sidebar, click Routes, then click Create.
To select a starting point on the map, click any road, path, trail or other place accessible by walking.
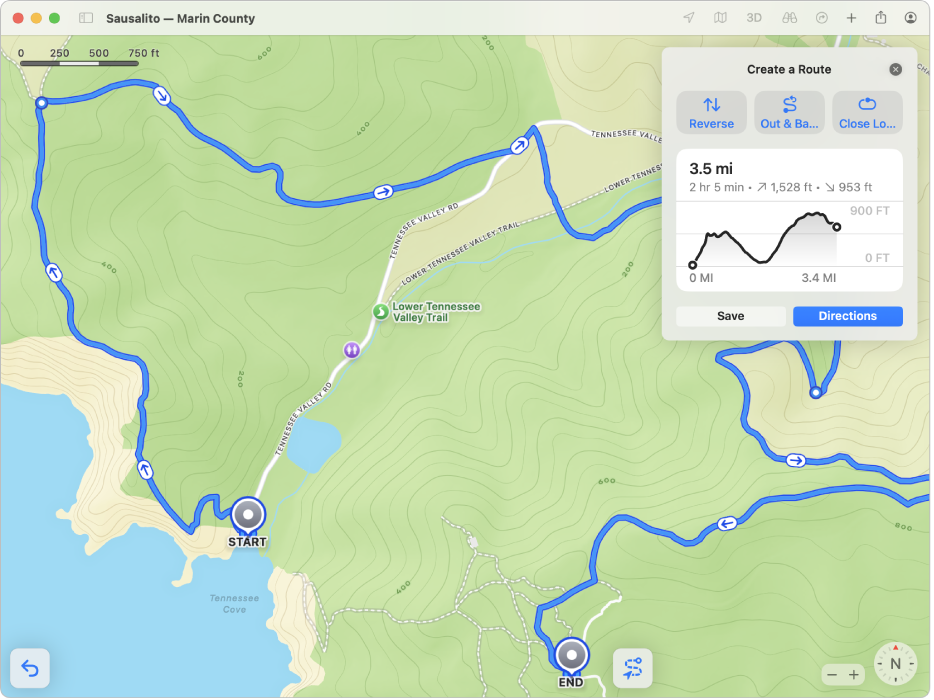
Do any of the following:
Choose a path: Click other points along your route.
Switch the start and end points: Click Reverse.
Go back the way you came: Click Out & Back.
Circle back to where you started: Click Close Loop.
Click Save, name the path or add notes (optional), then click Done.
Your walk is saved as a route in your library.
To see your saved hikes, click ![]() below Library in the sidebar, then click Routes.
below Library in the sidebar, then click Routes.