Powerful forms
for Salesforce
Automatiseer uw verkoopproces met Jotform. Bouw snel leadsformulieren die direct synchroniseren met uw Salesforce-account, waardoor u tijd bespaart en meer deals kunt sluiten.
Automatisch integreer uw formuliergegevens met uw Salesforce-database


In enkele minuten uw formulier bouwen
Met onze formulierbouwer kun je een geheel nieuw formulier maken of een gratis template aanpassen. Vervolgens kun je het formulier via e-mail versturen, delen met een link die je kunt kopiëren en plakken of in je website insluiten, zodat gebruikers het formulier op elk moment kunnen invullen.
Dynamically prefill your forms with real-time data
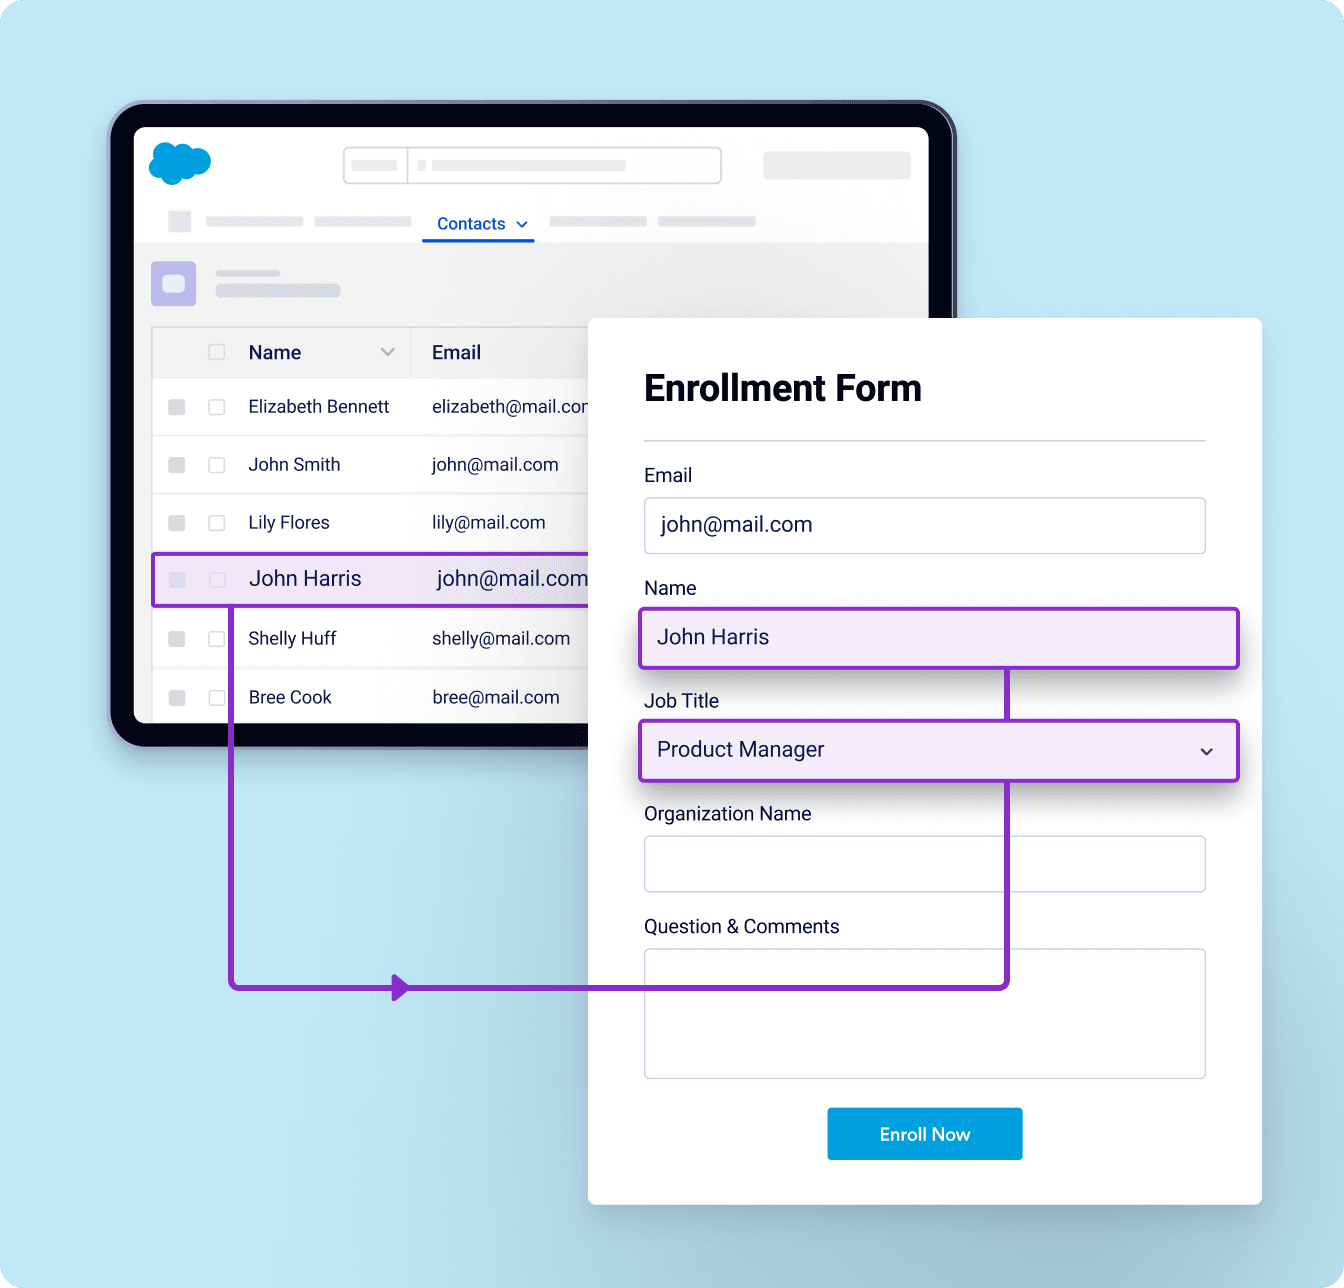
Effortlessly streamline your data management with Salesforce Dynamic Prefill, ensuring your forms are always up-to-date with the latest Salesforce information. Automatically sync data in real-time, eliminating manual entry and reducing errors. Providing a personalized experience with prefilled forms tailored to each respondent.
Keep your data in Salesforce
Ensure all your data is synchronized and managed within Salesforce, maintaining consistency across your CRM. Simplify your workflow and keep everything in one place, giving you full control over your data.
Use full-suite of products without leaving Salesforce
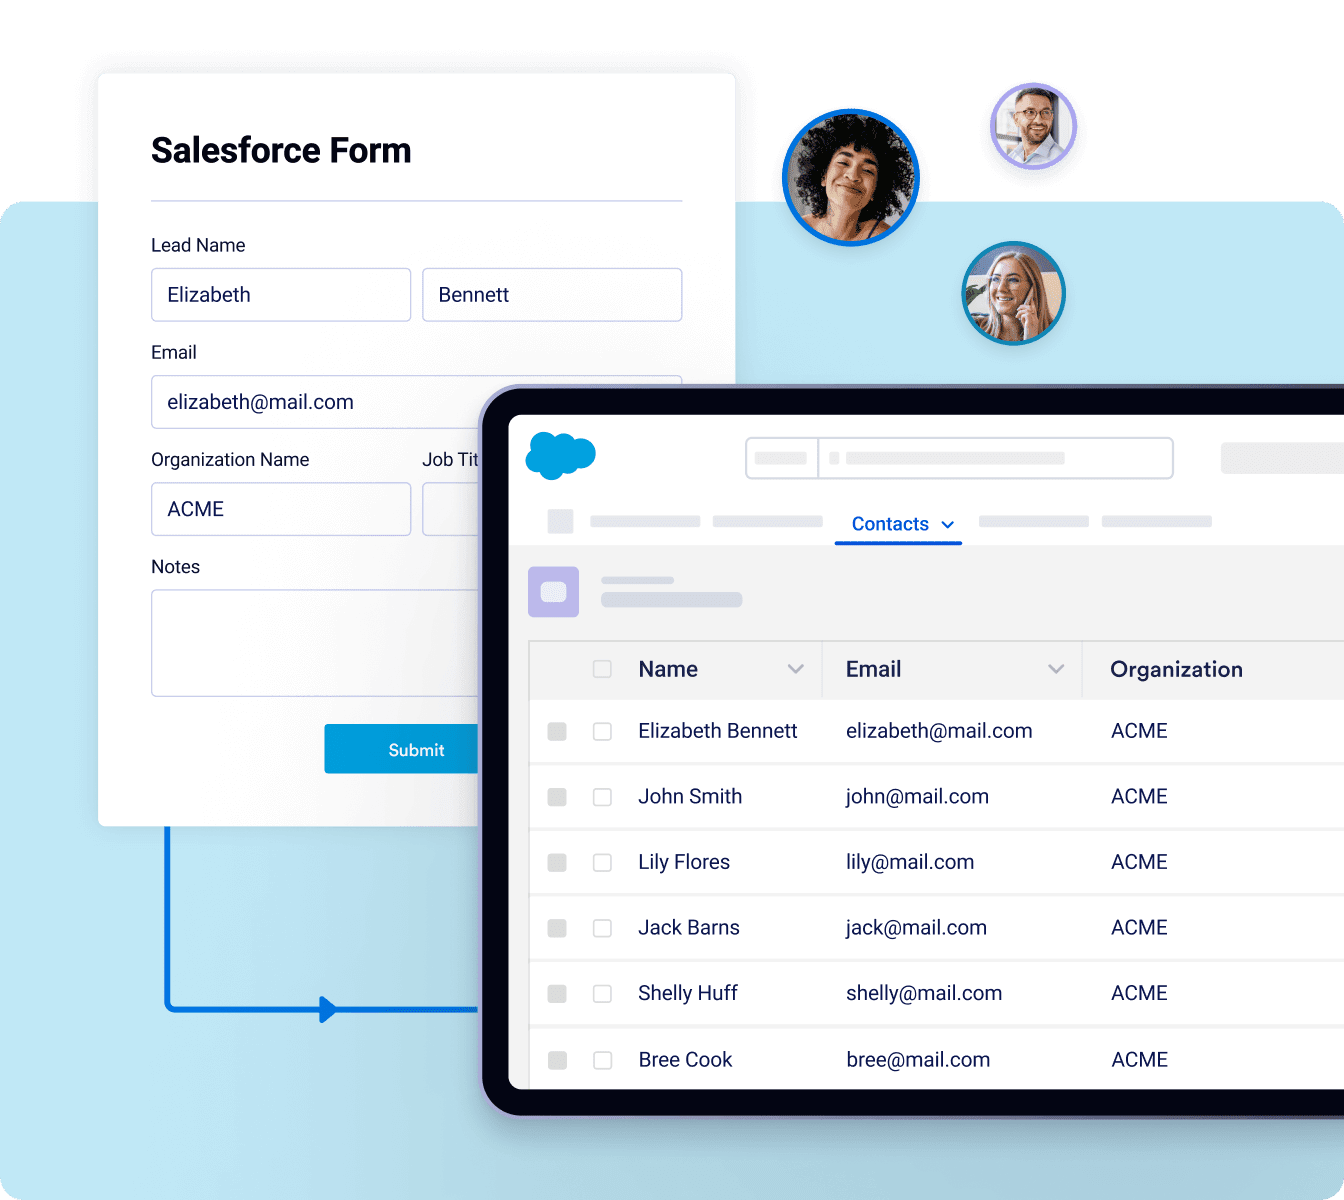
Create Salesforce Forms
Create pre-integrated Salesforce Forms to collect information about leads. Submissions sync automatically so your Salesforce data is always up to date.
Elektronische handtekeningen voor verkoopteams.
Collect e-signatures on contracts or invoices from any device. Efficiently manage signed documents and review audit trails directly from your Salesforce account.
Genereer Salesforce-documenten
Effortlessly create PDF documents based on submission data and easily share them with a single click.
Verander formulieren in workflows
Houd overzicht over leden van je organisatie, verzamel giften van donateurs en werf vrijwilligers voor aankomende fondsenwervende activiteiten.
Manage data with Jotform Tables
Easily track, manage, and filter submission data. Invite teammates to collaborate in real time.
Uw gegevens zijn veilig en beveiligd

Ensuring the privacy and security of your data is a top priority for us. You can rest easy, knowing that we take every precaution to provide an online form service with high grade security.
150+ Integrations & Payment Gateways
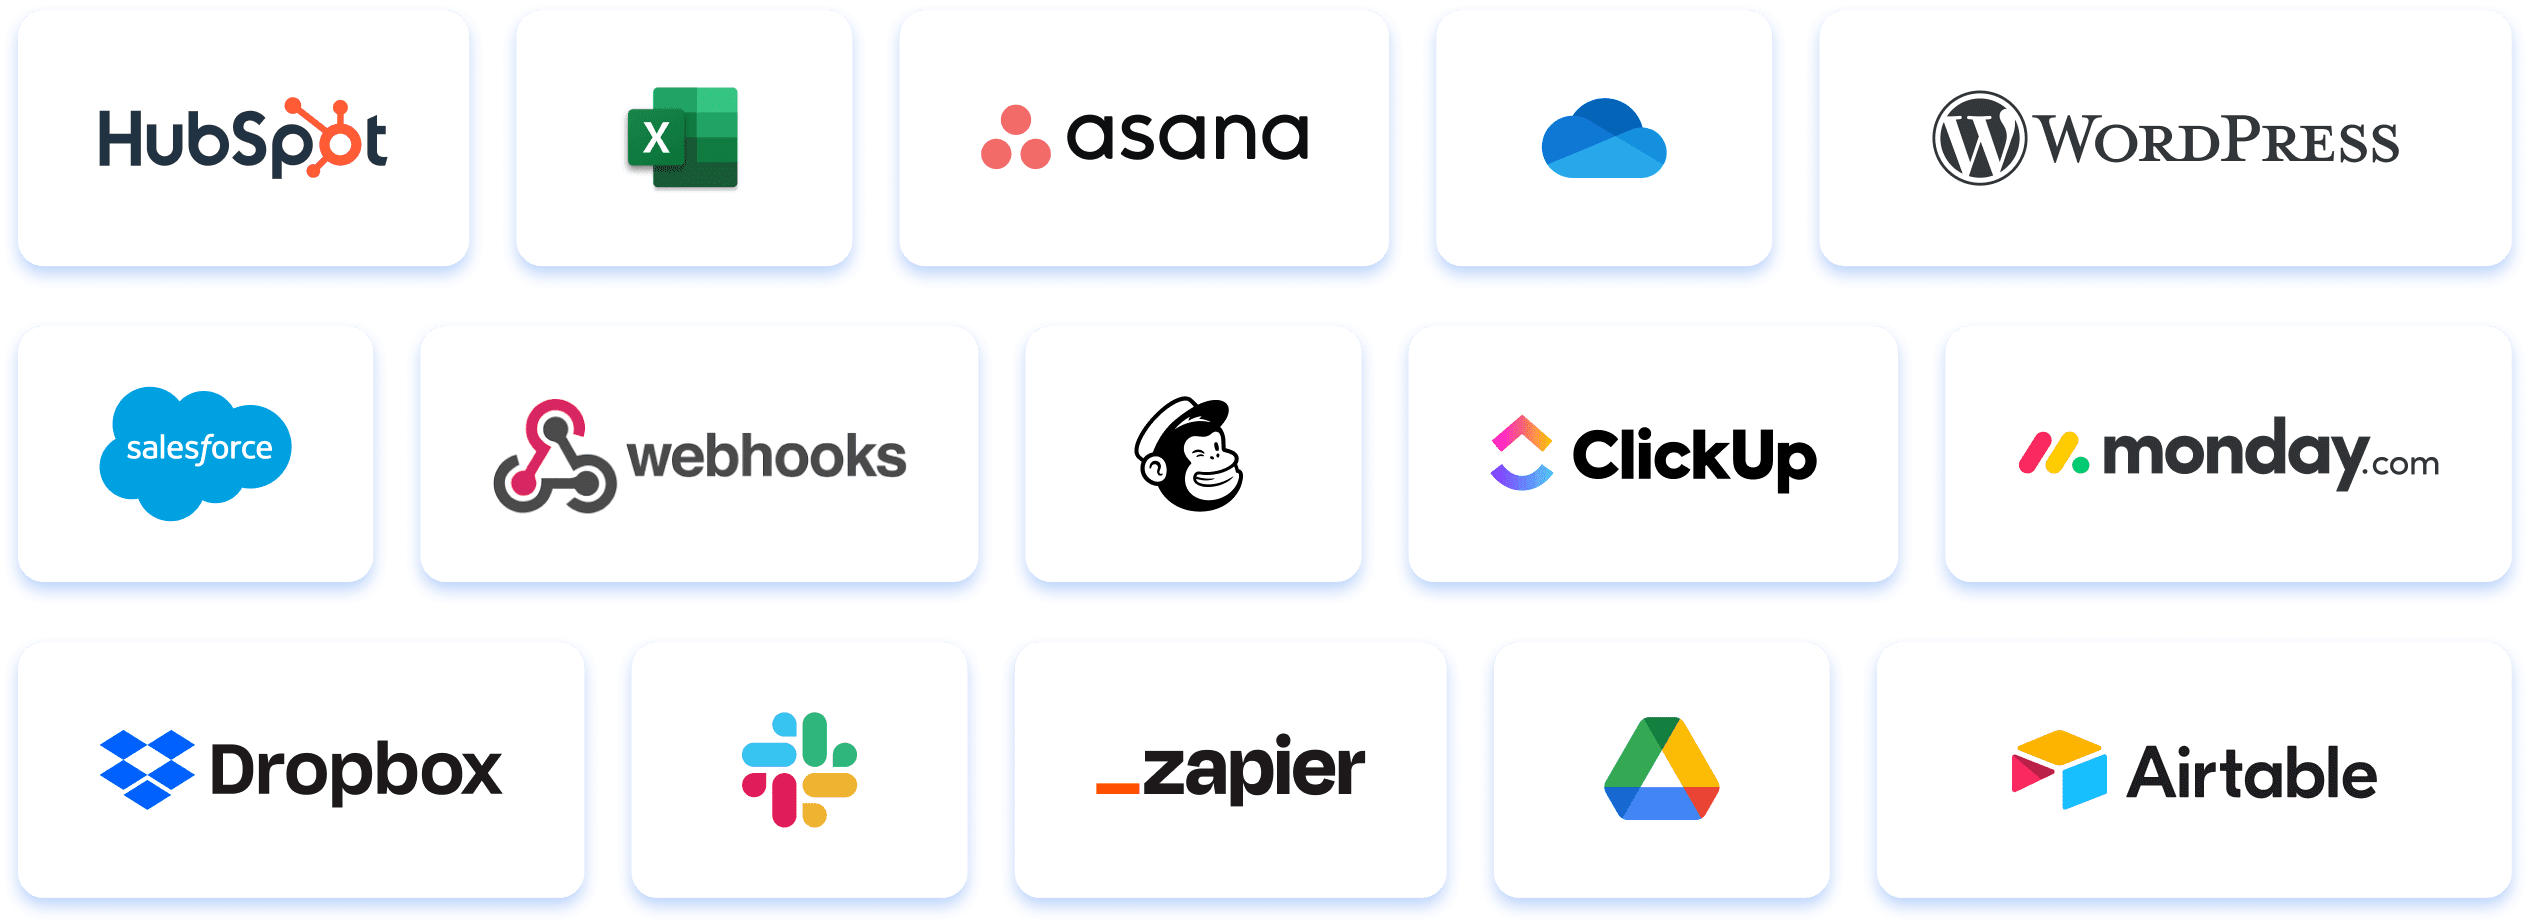
Jotform Enterprise bevat integraties met effectieve softwaretools die u helpen uw workflow te beheren. Deze integraties omvatten alles, van CRM's en oplossingen voor cloudopslag tot betalingsverwerkers en projectmanagementoplossingen! Wanneer uw werknemers, klanten of partners vervolgens uw formulier invullen, worden de inzendingsinformatie automatisch in uw andere online accounts weergegeven op basis van uw integratie instellingen.
Krijg praktische hulp van ons team

Ons toegewijde team staat klaar om te zorgen voor een naadloze implementatie die op de behoeften van je organisatie is afgestemd. Krijg deskundige begeleiding bij elke stap, van het maken van formulieren tot het optimaliseren van de workflow. We dragen graag bij aan het succes van je onderneming.
FAQ
Uw zoekopdracht „{searchValue}” heeft geen resultaten opgeleverd.
-
Wat is Jotform voor Salesforce?
Jotform voor Salesforce is een krachtige online formulierbouwer en workflowautomatiseringstool die beschikbaar is op de Salesforce AppExchange. Jotform voor Salesforce kan elke organisatie ten goede komen die een krachtige tool voor gegevensverzameling nodig heeft, ongeacht de branche of grootte.
-
Hoe kunt u profiteren van het gebruik van Jotform binnen uw Salesforce-account?
Wanneer u Jotform binnen uw Salesforce-account gebruikt, worden alle gegevens die via uw formulieren worden verzameld automatisch ingevuld in het bijbehorende object in Salesforce. Voordelen zijn onder andere, maar niet beperkt tot, naadloze gegevensvastlegging, verbeterde leadgeneratie, verbeterde gegevenskwaliteit en een geïntegreerde gebruikerservaring.
Bovendien krijgt u door het gebruik van Jotform voor Salesforce toegang tot een breed scala aan handige functies en tools, zoals manieren om no-code apps en PDF's te bouwen, e-handtekeningen en bestand uploads te verzamelen, rapporten te genereren en uw workflows te automatiseren.
-
Hoe kan ik Salesforce integreren met mijn formulier?
To integrate Salesforce with your form, start by installing Jotform on the Salesforce AppExchange. After installing the app, open it by clicking on the App Launcher icon and searching for “Jotform.”
Once you’ve launched the app, click Create Salesforce Form, select an object to create a form for, select the object fields you’d like to add to your form, and then click Create Form. Your form will now be ready to collect data and automatically send it to the linked fields in your Salesforce account.
If you’d like to access Salesforce via Jotform, you can add the legacy Salesforce integration to a form in the Form Builder. To do this, open the Jotform Form Builder and select the form you’d like to connect with Salesforce.
Klik op Instellingen, ga vervolgens naar het tabblad Integraties en zoek naar "Salesforce". Klik op de Authenticeren knop om je Salesforce-account te koppelen. Als je je Salesforce-account al hebt gekoppeld, kun je deze selecteren in het vervolgkeuzemenu.
After connecting your account, choose either Create or update a record or Find a record. Pick an object from the list and map your form fields to the data fields from your chosen Salesforce object. Once you’re finished, click the Save button and you’re done! Your form data will now be sent to Salesforce every time a submission is received.
-
Can I get notified when an error happens in my Salesforce integration?
Yes! Integration logs can help you identify and resolve any integration issues — reducing downtime and data discrepancies. Combined with error notifications, integration logs enable you to take immediate action when an error occurs instead of manually checking the logs yourself.
-
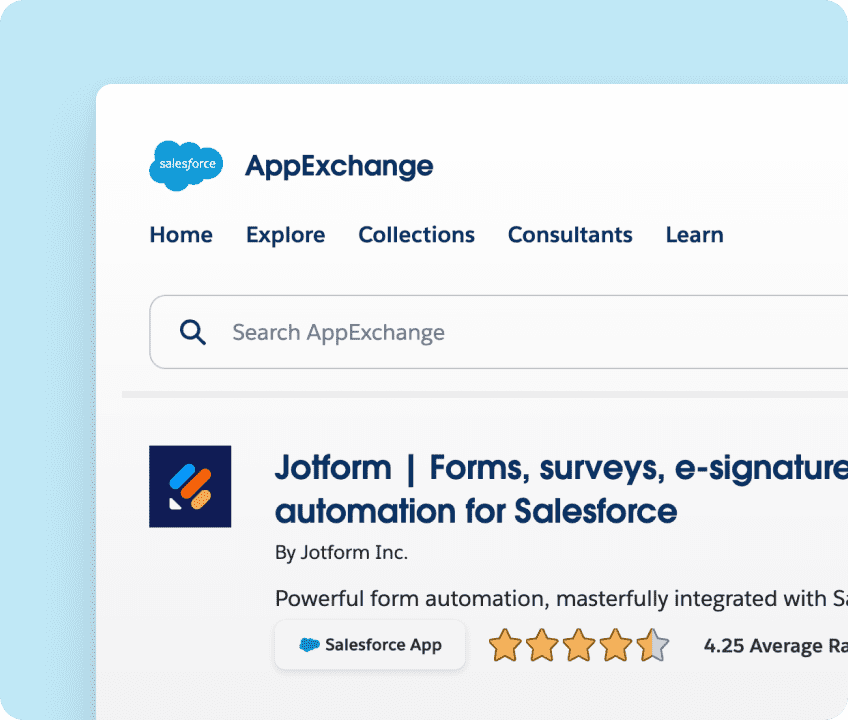
Hoe kun je toegang krijgen tot Jotform op Salesforce AppExchange?
Om toegang te krijgen tot Jotform Enterprise op de Salesforce AppExchange, moet je
contact opnemen met sales. -
Hoe stel ik Jotform Enterprise in voor Salesforce?
To set up Jotform Enterprise for Salesforce, you need to first upgrade your plan to include Jotform Enterprise for Salesforce add-on. After the upgrade is completed, Jotform Customers Success Managers will help you setup. If you want to handle it yourself, you will have to search Jotform in Appexchange and click, Get It Now, and follow the setup instructions. After you install the app, you can decide whether to install it for Admins Only, for All Users, or for Specific Profiles.
You can then open the Jotform Enterprise app by clicking the App Launcher icon and searching for Jotform. Log into your Jotform account, then follow the final instructions to finish setting up the app. You should now be able to access Jotform on Salesforce AppExchange for all your form creation needs.
-
Onder welke clouds is Jotform beschikbaar in AppExchange?
Jotform works on Salesforce’s Sales Cloud — a fully customizable CRM platform that consolidates customer information. Use it to automate administrative tasks, manage leads and client information, close deals, and gain crucial insights into your business.
-
Can I dynamically prefill forms with data from Salesforce?
Yes! When you add Salesforce Dynamic Prefill to your forms, you can dynamically prefill them with data from Salesforce — meaning the data that automatically pre-populates your forms will always be the most up-to-date information in your Salesforce account. To connect your forms with Salesforce, go to the Publish tab of the Jotform Form Builder. Select Prefill from the menu on the left and then Salesforce Prefill. Complete the integration setup to add Dynamic Prefill to your forms.
-
Does the new Salesforce Dynamic Prefill work with custom objects?
Yes. With the new Salesforce Dynamic Prefill, you can prefill your forms dynamically from any Salesforce object, including custom objects.
You can also prefill your form from multiple objects by connecting multiple prefill sources.
-
I have many contacts under my Salesforce account. Is it possible to automate prefill link generation?
Yes, it is. All you need to do is copy the live prefill link under your prefill settings and paste your lookup field's unique identifier at the end of the URL. You can then use this link in your email templates or custom buttons inside Salesforce, and customize it with merge fields. When combined with Salesforce's automation tools, Jotform's Salesforce Prefill feature allows you to distribute personalized emails at scale, enabling efficient form distribution with minimal effort.
-
How can I create individual prefill links for my selected contacts?
To create individual prefill links for your selected Salesforce contacts, go to the Publish tab of the Jotform Form Builder. Select Prefill from the menu on the left and then Salesforce Prefill. Configure your prefill settings, then open the Personalized Links tab. Click the Create New Links button and select the records for which you want to create specific form links.
-
How can I send form file attachments to Salesforce?
With our improved Salesforce integration, you can now send file uploads and form submission PDFs to Salesforce. This option automatically attaches the selected files to the relevant object’s record.
To send file attachments to Salesforce, in the Form Builder, click Settings, then go to the Integrations tab and search for “Salesforce.” Click the Authenticate button to link your Salesforce account.
After connecting your account, select Create or update a record. Pick an object from the list, and map the necessary fields. At the bottom of the page, open the Attachments toggle and select the files you want to attach to your record. Once you’re finished, click the Save button. While the form data automatically goes to Salesforce with every new submission, selected files will be sent as attachments to the newly created record and can be reached from the Notes & Attachments section.